Date : Aug 20th, 2007 one evening
Materials : Adjustable crescent wrench, wire, philips screwdriver (broken), streach red velvet, hot glue, solder, flux, thread, copper tape
Tools : soldering iron, needle, pliers, hot glue gun
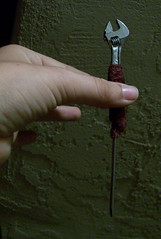
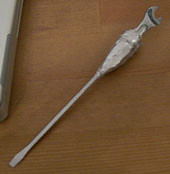
Finished Product:

Process:

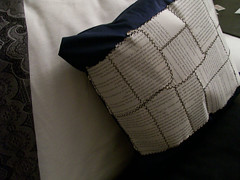
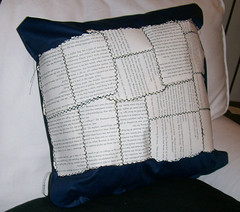
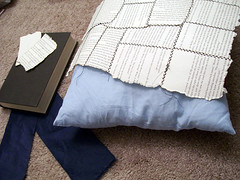
Images from v.1, now lost
Ridiculously simple. Cut/break/hack up the handle of the desired screw driver. Solder to end of of the wrench. On the first version, I had to saw off the end of the wrench (which ate up a new blade) and only hot glued. On second version, I cut nothing but had to lay down copper tape onto the wrench handle for the solder to take. Thing wire was twisted about and soldered to for extra stability. A thick layer of hot glue was added for stability but mainly to smooth out the uneven surfaces. Stretch fabric was then wrapped around and sewn into place. Make sure the stretch runs around the girth of the tool.
Version 2.0 is 6" long. The wrench half is 1.5" which is ideal. The center is 2" and does not taper smoothly on the screw driver side which makes it difficult to wear. This could be fixed if I were to cut the fabric off and reshape with more hot glue. The screw driver is 2.5" which is okay, but I could have done with a bit more length.
Thoughts :
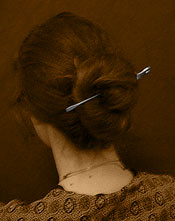
These things are very easy to make and very pretty to wear. The screwdriver on the first came in handy several times and I suspect the adjustable wrench wont be neglected. The only complex bit is in fact how to properly twist your hair up to wear it. Perhaps I'll document that next. Version 1 had a better looking tool while Version 2 makes for a better hair piece.
The boys at work always carry around their Lethermans and other fancy tools in their belts or in boxes. Whipping out pliers with a crack or folding up a blade with a snap. I've decided to not be outdone and designed my own tool to be carried around at all times. It makes no loud sounds when brought into use, signaled instead by a cascade of hair falling down my back.
Elegant and functional, I find it to be a key item to display my thoughts on the idea of "steampunk"
UPDATE: While visiting Seattle, end of August, Logan sort of sat on it and the solder joint broke. I now have an excuse to go back and make it better, which I've not complaint to do.