Date : January 2008
Materials : Wire, tin foil, clay, white out, hot-glue, a pinch of fabric, yarn (2 types), thread, beads (temporarily)
Tools : Crochet hook, needle, hot glue gun, oven
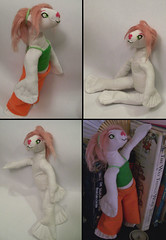
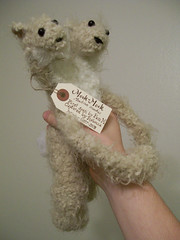
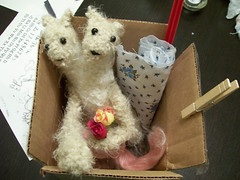
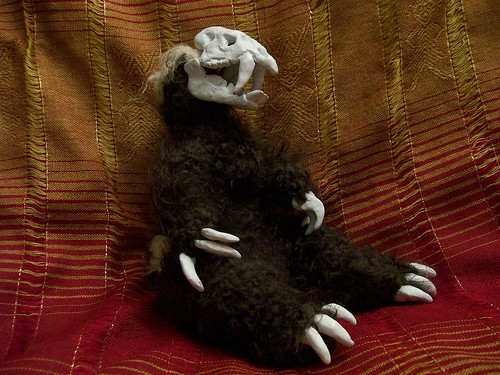
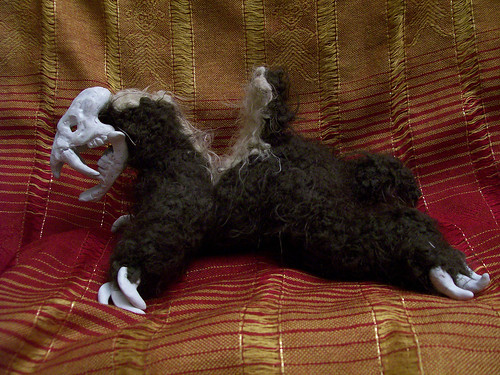
Finished Product:
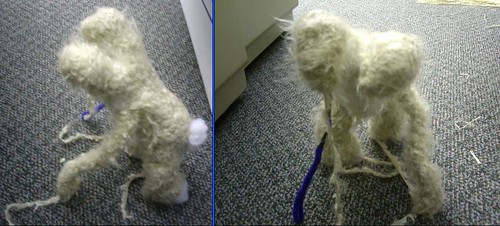
Process:
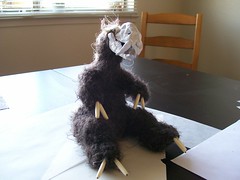
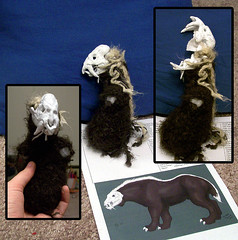
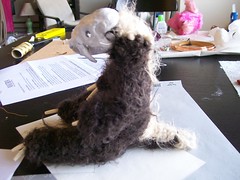
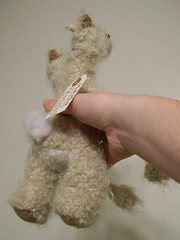
Given that I'm a poor sculptor, I started with the head. Looking back, I would have started with the body- as I do with almost all my projects- and *then* done the head. Sigh. Live and learn. Anyway, I bent some wire and used some tinfoil and then some clay and BAM, I made a skull. Of course I was desperately looking at photos while I did this and it still sucked. There's a skull top and seperate jaw, mind you. Baked them, then painted 'em with white-out. Started crocheting the bear. Had massive, massive, *massive* problems sculpting it correctly. Left a gap at the bottom and also inserted a wire spine. Got glued a scrap of fabric to the clay bits and then sewed that to the yarn. Had difficulties sewing it such that the two would line up. Then I crocheted the limbs. Put very stupid looking beads on as claws, closed up the rump and called it good. Went away for a while, then came back to it. Sculpted clay claws and then went over the chest with some re-shaping crochet and added an (ugly) tail. During this all one of the teeth broke off but was easily hot glued back on and then repainted with whiteout. Several paint touch-ups were needed throughout but luckily whiteout is easy to find, use, and dries fast (the reasons I picked it)
Thoughts :
Good first try. Interesting idea I will have to try again. Skulls are a bitch though- hard to draw, hard to sculpt. Toy was made upon request for Moonykins for the Ohantra character. You can see I was less successful adapting this one- moved it from an on-all-fours character to a more doll-like form. Also the shaping around the jawline failed despite my best efforts. Really, I blame working head-first for most these problems. It's actually really fun to play with. I like making the mouth open and close to sing along with whatever I'm listening to. The sculpted claws are also quite awesome- the hands are individual claws while the toes are fixed in a row.