Project : Mr. Muggles
Date : July 2008 - September 2008
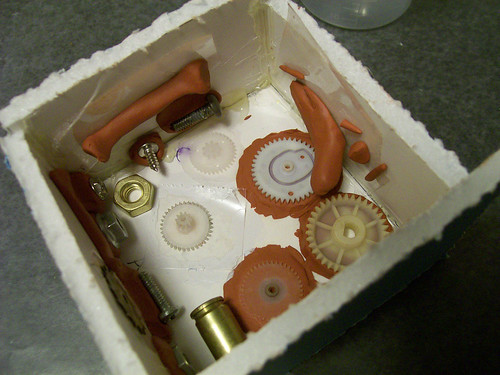
Materials : Yarn (3 types), fabric (2 types), beads, wire, chain, foam, stuffing, tiny buttons, thread, glue
Tools : crochet hook, pliers, scissors, cat brush, needled, hot glue gun
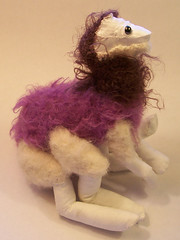
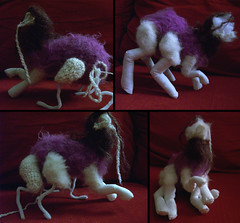
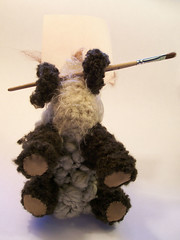
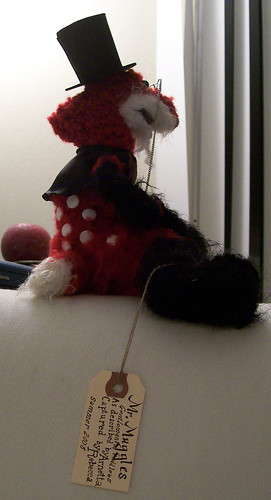
Finished Product:
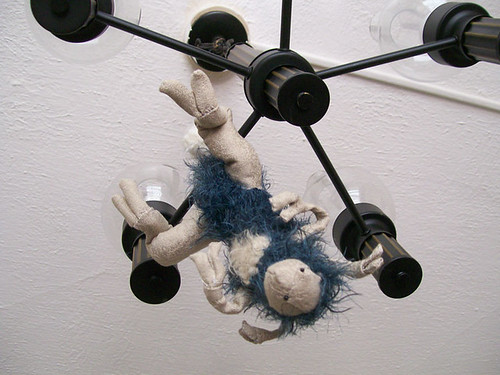
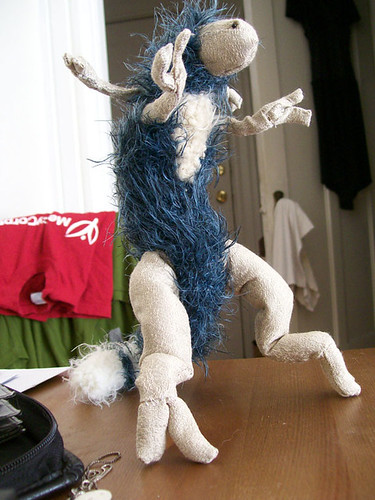
 Process
:
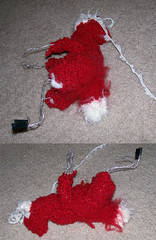
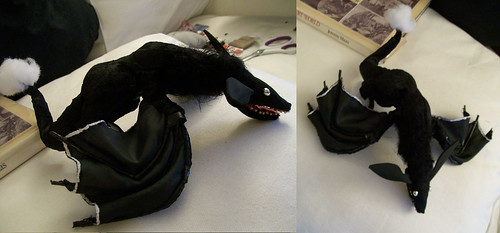
First panic because there's a set of restrictions applied to the project that you must meet (see below). Then just sorta start crocheting and see how you feel. Start at the neck and work down the body, putting a hunch in for shoulder blades. When done, go back and work from the neck up, including a bulge at the back so a stocking hat that you're never actually going to make can be worn.
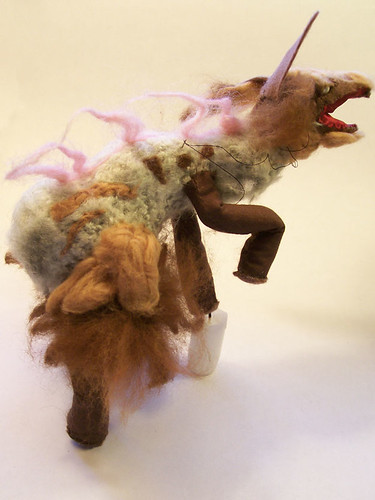
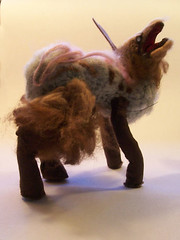
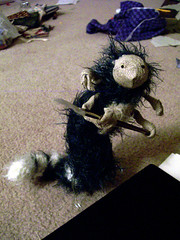
Avoid finishing/fleshing out the face because you're afraid and go back to work on the body. Half-assedly stick some wire through the body where the limbs are but since you didn't wire a spine, it doesn't really do all that much. Crochet some limbs! But not all of them at once, because that would be commitment. Skip around between legs, stopping at the knees. Add a super stubby fox tail with a white tip. Then start brushing the body with a cat brush because you're too eager to try it out rather then waiting like a sane person. However, realize that this look is not actually a good one and stop before you destroy the entire piece. The end of the project will have brushed haunches, rump, and tail to cover for your failed experiment.
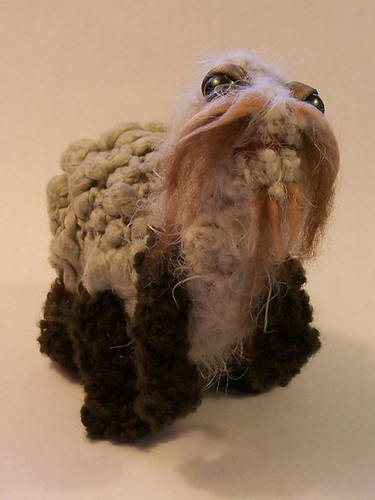
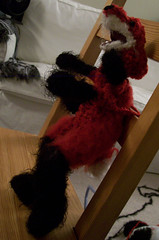
Suck it up because you have to and go back and finish the 4 limbs you got. Use black instead of red because you still have foxes on the brain. For this same reason & the beard requirement, use white for the lower jaw of the face. Crochet basically a bent O several rows deep around the mouth, then cut fabric to shape and sew it in. Bend a wire in place on the "inside" and sew that down as well. Now pull out the red and finish off the head. Be sure to build up around the brow region with sharp increases/decreases and doubling back for shape.
Because the requirements call for it, go back and stick more wire through the body where it looks like you can, and crochet another pair of arms. Then select the most adorable little black matte beads and use them for eyes. I confess to not remembering how I did the nose....
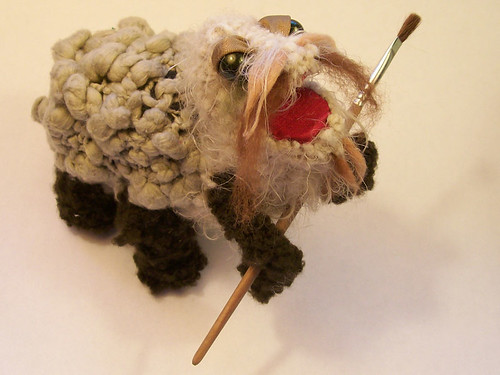
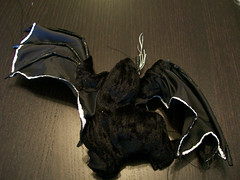
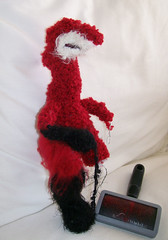
At this point embrace the fact that your 3rd pair of limbs looks terrible, especially where they join the body. Therefore draft a vest pattern and sew it together to hide this yarn connection. Don't sew it directly to the monster itself, but feel free to sew the arm holes and hem it while the toy is wearing it so that you need only make it look good while worn. Also, don't worry about arm hole size, the vest is never coming off you decide because you sew the vest flaps closed when affixing adorable little buttons to close it.
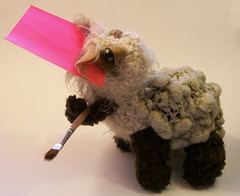
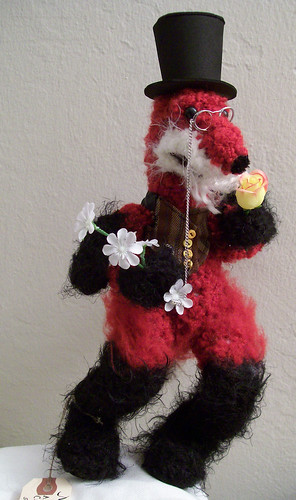
Realize you still have hat + glasses + beard requirements. Shred some nice white yarn to get those wool chunks that make it. Use a yarn needle and thread them through the chin and hope no one pulls too hard on them. Bend that wire you used for armature into the shape of eyeglasses and then solder the bends together to make it stronger/not look as tacky. Leave a wire protruding on one side so you can shove it into the nose and have it stay. Because the monster is beginning to look posh and because the glasses easily fall out, take a segment of necklace chain and solder it to the glasses and sew the end to the vest. Then use foam to make a top hat- a rectangle, circle, and doughnut shape being cut out and hot-glued together to do so. Now stop before you ruin it.
Thoughts :
Mr. Muggles originally started out from a list of requirements, put forward during a Ravelry exchange. The list :
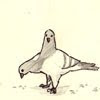
“Head: Beard, Long Pointy Nose,Open Mouth, Extremities: Big Ol Feet, Extra Arms/fingers, Body : Scales, Extra Bits and pieces: Hat, Glasses”. "Ugh!" I thought. What a terrible list to work from. The beard, hat, and glasses made it far too human for what I normally like to do. For some reason I was positively gripped with the notion of a fox early on. I also desperately wanted to apply the "brushing yarn" technique I had heard about. There were a number of sketches done for him, before and during the process of his creation. For the longest time he looked older and wiser- a longer beard, simple un-chained classes perched at the tip of his nose, and a stocking knit sock cap with a bell on the end. Phfff... How quickly things can change when I'm actually crafting something.
The clothing improved him greatly, helped define the body. The brushing of the red failed because the red was too solid and the creature lost form. Sad. The hat idea I had gotten from a friend's gift. I'm only mildly sad that I forgot the "big feet" requirement. The open & wired mouth was positively awesome. Fun and very expressive.
In the end, I love how nervous and stuffy he strikes me as.
Mr. Muggles fidgeted with his glasses as he lifted the saucer and took a tip of tea from a delicate china cup. This whole situation was quite distressing and it appeared that, after his fifth cup, simply sipping tea and hoping would not make it disappear. The velvet that the mechanism had lain in was still indented with it's shape- the glass shards of the display case simply dusting the fabric hills and valleys without disturbing them.
It was gone and he, the curator, had no idea where it had gotten off to. All the devices on display weren't wound- he shuttered to think of what level of chaos would be obtained if even a crank or two were applied to some of the artifacts. If the device certainly hadn't made off on it's own, then what? None of the others had been touched. Why just this one? Muggles lifted his cup again but found it to be empty. Sighing heavily, he set it down on a nearby, intact case and hunched down to think. His fuzzy black paws fidgeted with the phantom archival tag he could already imagine tied about his leg. Oh heavens above, she was going to send him away! He looked around, forlorn. He needed another cup of tea.